I also can't help but redo/fix/update things around the house to make it feel a little more like home and a lot more like me.
Today I just did a quick update to some containers that I use in my office. They desperately needed to lose the "stuffy" cardboard look and get some color!
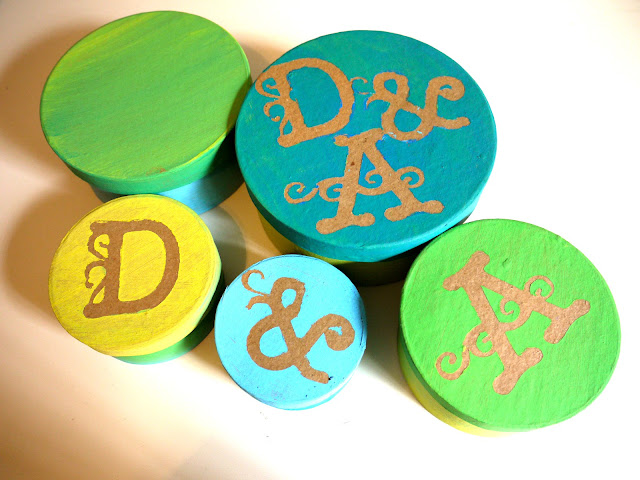 | ||
| the D & A are for Daniel and Asha |
 |
| can you say boring?! |
- Acrylic paints in 3 colors of your choice
- a sponge brush (I got a pack of 10 for $1!)
- old newspaper
- cardstock
- glue stick
- stencils, Cricut or Silhouette
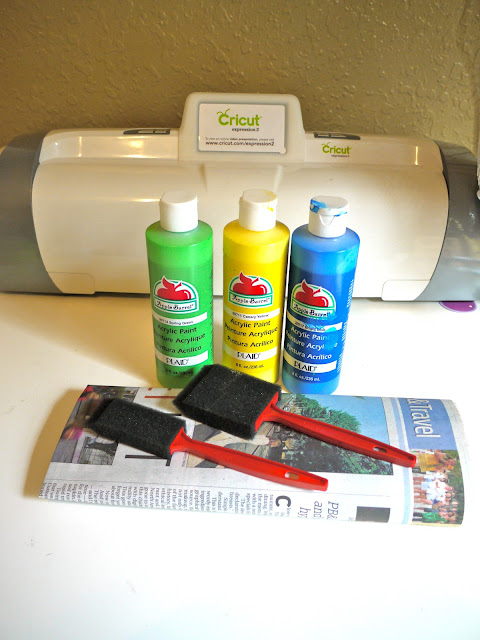 |
| glue stick and cardstock are not shown |
- layout your newspaper as a dropcloth for a the paint (I used an entire section so it would be thick enough)
- use your stencil or Cricut to cut out the letters you want on the cardstock (mine were 2" wide)
- put a quarter-sized dot of paint on the newspaper for each of your colors - this is your palette.
- put a liberal amount of glue on the back of each of your letters and adhere them to the lids of your containers.
- take the sponge brush and dab it into the first and second colors that you would like to blend on your containers and begin painting with long strokes.
- When painting the lids, first dab the paint on around the letters to ensure that they are securely pressed down and then go over the entire lid with paint.
- To get a nice color variation as I did, DO NOT wash your brush as you paint, just wipe it on the newspaper before adding another color. That way a hint of the previous color will get mixed in.
- Let dry for about 5 minutes before carefully removing the letters that you applied with the glue stick.
- continue to allow containers to dry (usually takes about 15 min)
- Voila! You have your very own personalized containers!
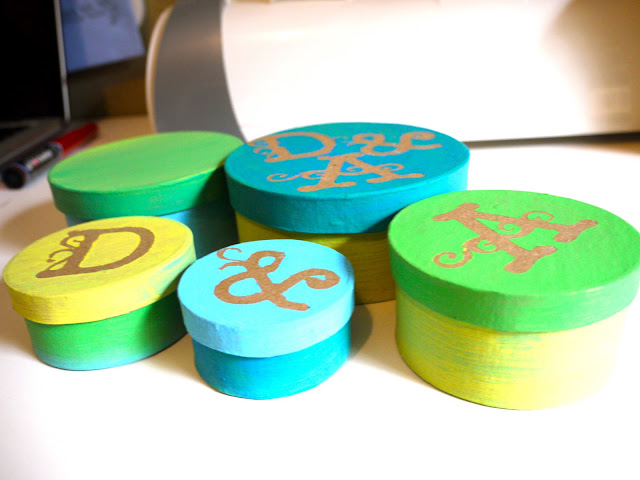
Leave me a comment and let me know what you think or if you are going to try it out yourself! :)
I'm linking up with:
http://www.notjustahousewife.net/
http://www.sugarbeecrafts.com/
http://amy-newnostalgia.blogspot.com/
love always,







4 comments:
So jealous you have a Cricut!!!!
I really love these and the colors you chose :-) Are you offering different size ads now? Is it an app. to download or?? Good idea :-)
Very cute!
Very crafty! I definitely have some plain boxes that could use a pop of color. Thanks for stopping by my blog and for the follow! Following back!
Post a Comment